 People don’t notice ‘good’ sound. They only become aware of sound when the audio quality of a video is poor. When anyone embarks on video production the tendency is to focus on the visuals because it takes a few mistakes to learn the importance of sound.
It is worth remembering two things. Firstly, viewers are more forgiving of camera slips than they are with sound. It is really frustrating when you are watching something and you can’t hear what is being said; so much understanding can be lost in an instant. Secondly, there are numerous ways to cover up camera errors, but if you record poor quality sound, it is virtually impossible to recover it.
This post will take you through 7 top tips to get the best sound in your corporate video production.
1. Make sound someone’s responsibility – preferably someone who knows what they are doing!
In video production teams you can have numerous people working primarily on sound – depending on the size of your production. The sound mixer is the person responsible for setting, maintaining and relentlessly checking audio levels using a mixer or audio recorder. The boom mic operator is responsible for capturing sound through the boom mic. This role takes a lot more skill and knowledge than meets the eye. They need to be focused and they should have an understanding of the wider sound context. Either of these people will also take responsibility for making sure that interviewees and presenters etc are hooked up with the appropriate microphones for the situation.
These days, it is often the case that sound is a one person job. This can be risky, especially if the individual is inexperienced. However, it isn’t impossible and with a limited budget it might be necessary.
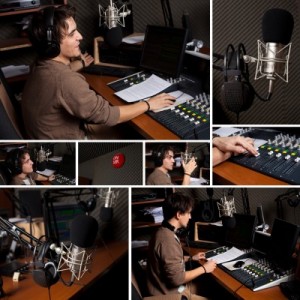
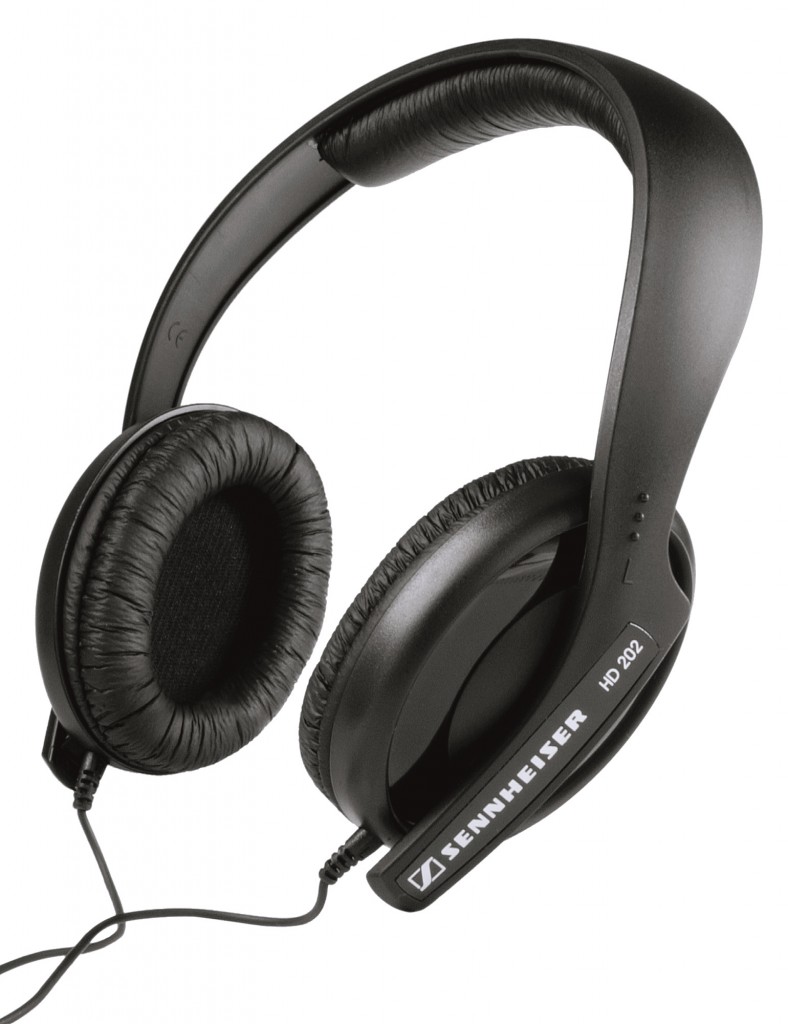
Whoever you have taking care of the sound for your video, make sure they are wearing headphones. If they aren’t wearing headphones they are not doing their job properly. It is essential that they are listening to the actual sound that is being recorded through the mics which you can’t do without headphones. The consequence will be that you get to the post-production stage and you look over your footage to find that there are problems with your sound. The secondary consequence will be that you will need to record it all again.
2. Assess your location in advance of the shoot
In an ideal world, you (or your sound person) will have the time to scout each of your filming locations prior to shooting. It really is worth it. You should take note of the sound quality in each room/at each location. Be aware of ‘soft’ and ‘hard’ spaces. If in the edit you are going to be cutting in between interviews of people in very different spaces the shift in sound quality will be obvious and annoying. You can avoid this by aiming to shoot all interviews in spaces that are either all ‘hard’ or all ‘soft’.
Use the opportunity to assess any potential sound interruptions e.g. traffic, airplanes, barking dogs, the wind, neighbors and seagulls (to name but a few!). This may sound pedantic, but you could save yourself a lot of time and trouble by being thorough.
Even if you are working with a low budget on a small scale corporate video you should make sure that you take sound into consideration.
3. Use the right gear for the right situation
Boom mics: These have been designed especially for TV and film i.e. situations when sound needs to be recorded but the microphone needs to be out of shot. They are directional and are sometimes called ‘gun mics’ because they will record from the sound source that they are being pointed at. They are usually attached to a pole so that the boom mic operator has some flexibility and can reach it towards sound sources more efficiently. You will recognise them from their fluffy wind breaker coats.
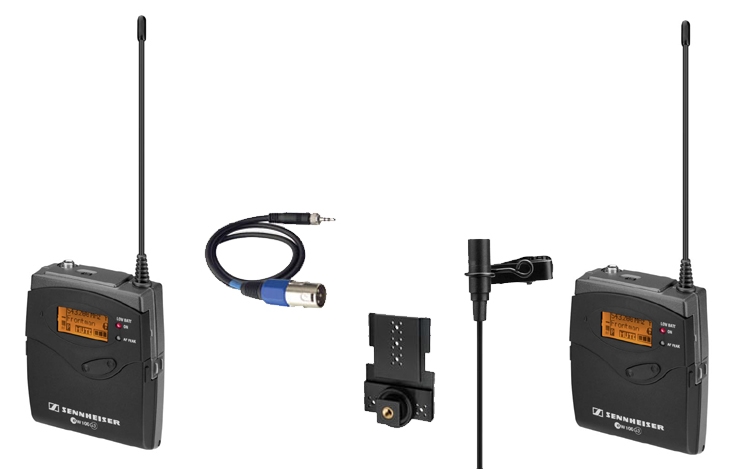
Clip mic: Also known as a lavalier microphone, the clip mic is small and can be attached to the speaker you are recording fairly discreetly, usually to the lapel of a jacket or the front of a shirt (a location where the sound quality won’t be affected by the rustling of clothes for example). Clip mics are generally connected to the camera by a cable.
Wireless clip on radio mic: These are like clip mics but use wireless technology; so the microphone will be attached to the person you are recording with a battery operated transmitter and the receiver will be mounted on the camera and plugged in directly to an audio input channel on the camera. Good quality wireless radio mics will allow you to record someone up to a mile away from your camera (in the right locations i.e. not the centre of London where there is too much interference!).
What is omnidirectional?
Omnidirectional microphones receive sound waves from all directions. The clip mics, including the wireless versions are omnidirectional. The boom or shotgun mic is what is known as highly directional. They have a very narrow sensitivity area so that they mainly pick up sound from the direction that are pointing in.
Remember, all of this lovely gear is only useful a) if you have tested it to make sure it works before a shoot and b) if you have batteries when you need them – always take spares!
4. Monitor your corporate video’s sound throughout the shoot
As mentioned above, your sound person should be monitoring your sound recording throughout the shoot. However, I felt this deserved a point of it’s own in this list of useful tips! Monitoring your sound includes making sure it is being listened to consistently throughout the shoot through a pair of headphones. I would also highly recommend having spare headphones, just in case. They are not expensive and they are an absolute necessity.
Monitoring sound also means keeping an eye on the levels on your display panel/viewfinder. If you are using two microphones, both through the camera, you should be able to see a reaction to sound on both of the sound channels. If you can only see it on one, work out which microphone is working and then figure out why the other one isn’t picking up sound. Sometimes it can be as simple as a switch not being in the right place e.g. input 1 needs to be set to channel 1!
5. Capture a ‘wild track’ at each location
A ‘wild track’ is the natural sound at a location. When I record a wild track I make sure everyone is quiet and I film the microphone (as a clue to myself that this is the wild track when I get to the edit!). Wild tracks are useful for filling in gaps of ‘silence’. They are also extremely useful in worst case scenarios. For example, if you film some dialogue on a shoot and then get to the studio to find that some parts have problems, you can record bits of it again and slot it in to the final edit using the wild track to make it sound like it was recorded at the same location.
6. Record voice over separately
If you are using voice over narration in your video, record it after the edit, separately from the main part of the production process. The first advantage of this is that you will know exactly what narration you need by this stage so you won’t waste time recording narration you don’t need. You need to record narration in a particular type of space – a professional studio is obviously the ideal but a ‘soft’ alternative without any background noise will do the job.
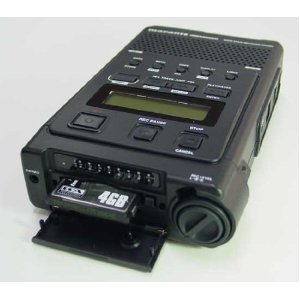
One way to record voiceover narration outside of a studio is to use a marantz with a boom mic. The marantz will create an audio file for you that you can drag onto your timeline and edit from there. Be sure to check what audio file types are compatible with the editing software that you are using.
7. What not to do with sound in corporate video production
Don’t use your camera mic to record sound – the quality won’t be good enough!


