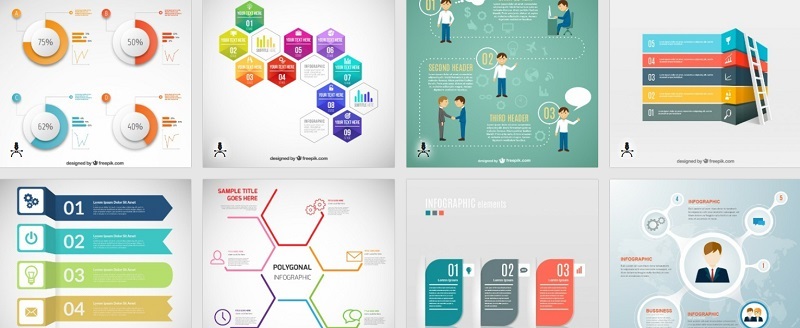
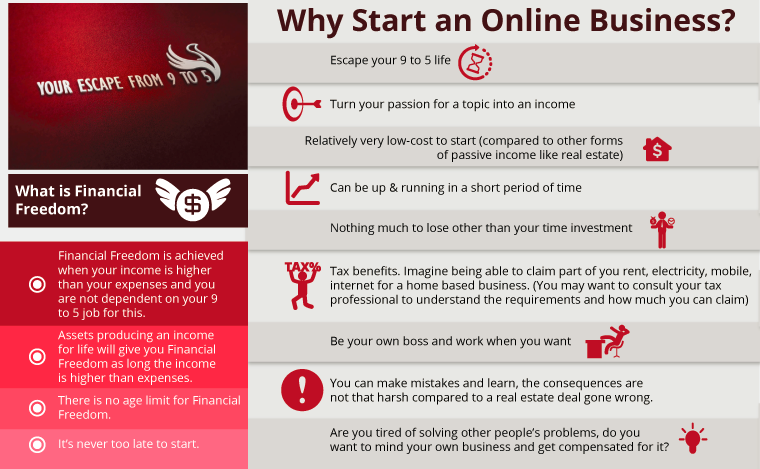
In this post we will cover 11 steps on how to make an Infographic and avoid common mistakes. See why Infographics are such a powerful marketing, SEO and traffic magnet if done right.
I have learned several lessons on my short Infographic journey and wanted to share my learning outcomes; hopefully these can help you be prepared and show you how to make an Infographic.

Before we jump in let’s look at;
Why Create an Infographic?
- For link building

- For recognition
- To network with fellow bloggers in your niche
- As an alternate strategy to guest posting
- To keep the best content you create on your site
- To get social media shares or followers
- To increase website traffic
- To get comments
- To increase email subscribers
- An Infographic presents complex information in an easy to read format allowing you to connect with the audience and even captivate them if the design and content are top-notch.
Hope you are convinced about the advantages of creating an Infographic. Note – The topic and content of your Infographic is very important to achieve some of the benefits discussed above. Now let’s look at the steps, how to make an Infographic.
1. Researching a Topic
You need a topic that is very specific or tightly focused. Topics like ‘blogging’ and ‘content marketing’ are too general, so you must narrow your topic. You can use BuzzSumo to discover popular content in your niche or the top industry sites. BuzzSumo displays content that has performed well on social media, allowing you to choose a tested topic with interest. Create a shortlist and include at least 3 topics.
The next stage is to check if someone has already made a killer infographic on your topic. Check in Google, Google Images, Pinterest, and Visual.ly. If industry giants like Neil Patel or Brian Dean have done an infographic on the topic you have short-listed then move to the next one on your list. If lesser known names have done an infographic and it has NOT done well in terms or social shares and backlinks (use BuzzSumo to check) then you might be able to reuse the infographic with due credit to get a quick bang for buck. The key is to promote the infographic and amplify its visibility. You can do some paid promotion using the cost you saved by not creating the infographic.
2. Come up with a Killer Heading
The heading is very important for marketing. It is also the first thing your readers read. Spend some time and do research on the heading. I don’t look at SEO for my Infographic heading as I want something catchy. My primary objective with creating an Infographic is to get backlinks and brand recognition; yours may be different. Here are two tools you can use to help with a catchy heading: Hubspot’s Blog Topic Generator and CoSchedule’s Headline Analyzer.
3. Collect Stats
Traditionally Infographics and stats go hand to hand; unless it’s a classic recipe or topic. So now is the time to look for stats to strengthen your case.
A word of caution: If you can’t find any stats then you may have to rethink the topic.

4. Draft your Infographic Points
Next step is to draft your Infographic in point form or summary form. This is what you will be giving your designers (assuming you will be outsourcing the design work). Don’t send this to the designers just yet. Read the next point first…
5. Draft your Post or Article
I like to draft my article before I contact the designers. When you draft the article you start to think more and get a feel for the points and their flow. You may want to make changes to your summary like, the order or wordings. You don’t want to be contacting your designer half way through their work and making changes and that’s why I like this approach.
6. Don’t Rush the Designer
After all, infographic creation is a form of creative art and the designers need time. This is only true if you have good designers. If you are trialing someone for the first time then you probably want to follow-up. If it’s a new designer ask to see a draft upfront to avoid disappointment and to make sure you are on the right track.
7. Break up your Order if Possible
Infographic designers generally either charge by the hour or charge per point. If you can get a draft say after 2 hours or say after 5 points, then do that. This gives you a chance to review their work and make sure you like their design and direction.
8. Don’t Order Multiple Items or Deliverables

9. You can’t Please Everyone with the Design
Designs are very subjective and not everyone likes the same thing. What you may like is something another person may not like. As long as the colors and design are neutral and can please 80% of the viewer’s then that’s a good outcome.
10. Include References and your Logo
Don’t forget to include your references and logo on the Infographic itself. You want your Infographic to be shared and brand recognition.
Including the references is a good idea as you want to acknowledge the original source material. The references can also help in sharing your Infographic as it is good for their brand.
11. Promote your Infographic
Use social media to market your Infographic; Pinterest is a must. You can also use Infographic listing directories like the following (courtesy of Neil Patel):
-
- Visual.ly
- Cool Infographics
- Infographics Archive (Paid site $15)
- Infographic Journal
- Infographics showcase (Paid site $50)
- Visual Loop
- Flickr
You should also use these social media sites to submit your Infographic:
Go to Google and search for your Infographic topic or keyword. Then go to the top 20 or 30 sites and send them an email to see if they are interested in publishing your Infographic. If they get back to you and say ‘yes’ and the site has a reasonable Domain Authority (above 30, as a rule of thumb) then offer to write an intro.
Here is a detailed Content Promotion Infographic Checklist that you can use.
Conclusion
Be Prepared to Make Mistakes and Learn. Don’t get disheartened if your first attempt was not successful; mine wasn’t either. At the least you will get some experience; worst case scenario you can write what you learn. For my 1st Infographic I gave the designer nothing more than 2 of my website pages and soon I started giving them a summary document with a brief. Do not be under the illusion that, the more information you provide the better; it’s actually quite the opposite. Give brief information to the point. You will learn and evolve over time. You just have to start somewhere.
Try to create a story with your infographic. Happy Infographic marketing!
