Now that you have your YouTube channel looking good it’s time to start organizing your content so it’s easy to find both for viewers and for search engines.
Why create playlists?
Playlists are an essential part of any YouTube strategy.
1) YouTube Playlists are indexed within search twice.
This makes it more likely that a viewer will discover your content. The videos featured within the list are featured on their own and then a second time within the context of the playlist.
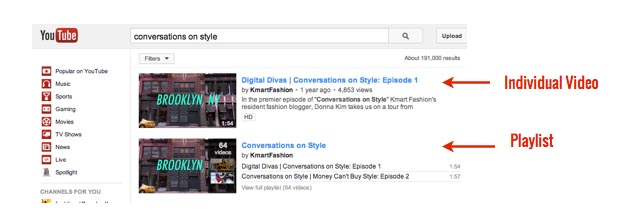
In the example below, when you search for “conversations on style,” the title of a video series created by About Face Media for Kmart Fashion, you will see that both the individual video and the playlist containing the same video show up in the search results. Having two listings instead of one boosts the chances that viewers will choose Kmart’s content over its competitors’ videos.
2) YouTube Playlists help organize content.
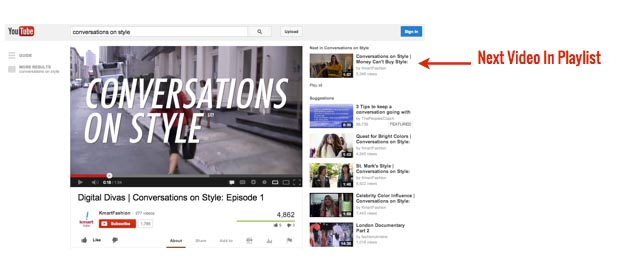
In the example above, viewers who click on the top video instead of the playlist below will get another chance to watch all the other videos in the playlist. The next video in the playlist will show up at the top of the right column on the watch page, as shown in the image below:
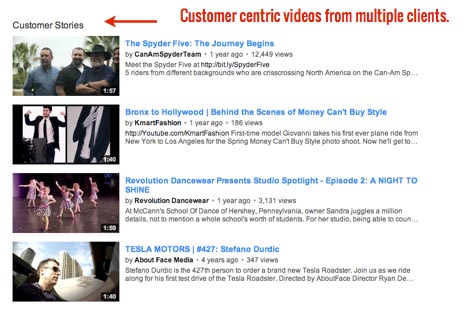
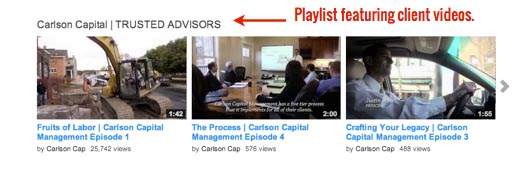
The YouTube One channel layout gives you the chance to feature playlists any way you want. We organize playlists on our channel by theme and by client.
You’ll notice that we aren’t actually hosting all the videos in the above and below playlists. Playlists allow you to curate content from around YouTube, even if they aren’t your videos, and feature them on your channel. We also create playlists for all the videos in a series from our clients.
3) YouTube Playlists Increase Watch Time.
YouTube’s algorithm increasingly favors videos that keep viewers engaged and watching through the duration of the video. Playlists prompt viewers to watch multiple videos in a single session—when one video ends, the next video in the playlist automatically begins.
ProTip: To encourage users to watch more than one of your videos—to increase watch time and collateral views—make sure you check the “share playlist starting with current video” box whenever you send someone a link to your video. You can include this link within your annotations (more on annotations next week) or when you share your videos on your social networks. You can also embed entire playlists onto your blog with the same check box.
How to Create Playlists?
1) Add Videos to a YouTube Playlist.
Navigate to the video you would like to add to a playlist and click the “add to” tab underneath any YouTube video.
If you’ve already created a playlist, select the playlist to which you want to add the video. If you are creating a new playlist, enter the title in the window below.
ProTip: Keep your playlists private until you’ve added your metadata and have it looking the way you want, so your subscribers don’t get activity notifications for every step of the process.
2) Manage YouTube Playlists
Select “Playlists” from the left side of the video manager to bring up a list of your created playlists. Click “Edit” on the playlist to which you would like to make changes.
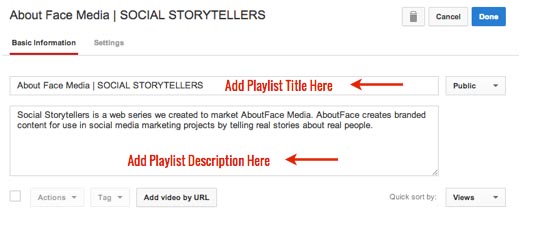
3) Add or change your playlist title or Description
Playlists have their own metadata, which can help with search equity as well as tell the viewer a little bit about the playlist, so make sure to use a keyword rich description.
From that screen you can also toggle your privacy settings, change the order of the videos in your playlist or remove videos you don’t want on your playlist anymore. Finally when you’re satisfied with the way your playlist appears, make sure you click “Done” to save the changes you’ve made.
Happy Playlisting!
