 Have you been asked to provide a P&L for your business? You may not know what a P&L is right now, but don’t panic! This financial statements tutorial will turn you into a P&L pro in no time!
What is a P&L?
The P&L refers to profit & loss statement. In formal financial statements, it is also referred to as a statement of income & expenses or simply an income statement. As you can guess, it is a statement of the monies you earned and the monies that were spent for a given accounting period.
Most business owners are utilizing Quickbooks or some other form of accounting software to track their finances. These programs obviously have built-in reporting modules that will build financial statements for you at the touch of a button. However, you may not be using such software in your small business. We have provided a simple template for building the P&L statement in Excel and will walk you through how to use the spreadsheet to generate a P&L.
Check out our step-by-step guide to building a P&L below:
Step One
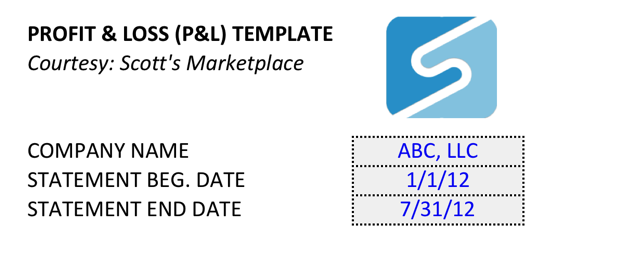
The first tab entitled “Inputs” is the first tab that you will see when you open the workbook. On this tab you will input the name of your company that is to appear on the P&L Statement and the date range for the statement as illustrated below:

Step Two
Next, go to the second tab titled “Income” and input the details for any income that was received for the applicable period. This can be taken from the deposits on your bank statement.
Be careful not to include refunds, transfers, or other deposits that really are not income. For example, if you received a check for overpayment of your utility bills, you would not include that as income but rather deduct it from your expenses. Also, do not count any transfers of cash from yourself or investors as income. These are capital contributions that will go on the balance sheet (a topic for another discussion).
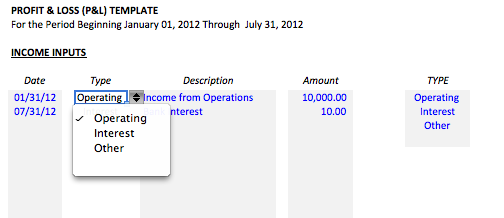
There are fields for dates, descriptions, and amounts. In column D there is a field for income type that includes a drop-down list. This is a preset list from column J that includes: Operating, Interest, and Other (as shown below). Make sure you select one of the types otherwise it will not get calculated into the P&L Statement.
If you want to change the names of the income types feel free to do so. You can also add an additional name to the list for a total of four income types. For simplicity, we have only allowed up to four types and adding more than this will require additional formatting and restructuring of the spreadsheet.
If you are manufacturing goods or have direct costs for the services or products that you provide you can enter those under the “Costs” tab. These items will show up on the P&L simply as Costs and are taken out of income to calculate Gross Profit. Costs are different than expenses in that they are typically directly related to the product or service that is being sold. Whereas expenses like rent or utilities are not directly attributed to the creation of the product or delivery of the service.
Step Three
Next, you will do the same for your expenses under the “Expense” tab. The expenses are categorized by several different expense types under column J. Again, remember to select a type from the drop-down list for each item you input. The names in the list can be changed but there is a limit to the number that can be input without reformatting or restructuring the workbook. Feel free to change the names of the expense types to fit your actual expenses. However, if you add more than the 13 that are listed, your statement will not calculate correctly.
It is important to note that we do not include capitalized expenditures on the P&L statement. This includes any purchase of assets that have a useful life beyond typically one year. These costs will be capitalized or placed on the balance sheet as assets to be depreciated over time. While there is an impact to the cash flows of the company, the P&L should only reflect the depreciation expense related to these assets.
You’re Done!
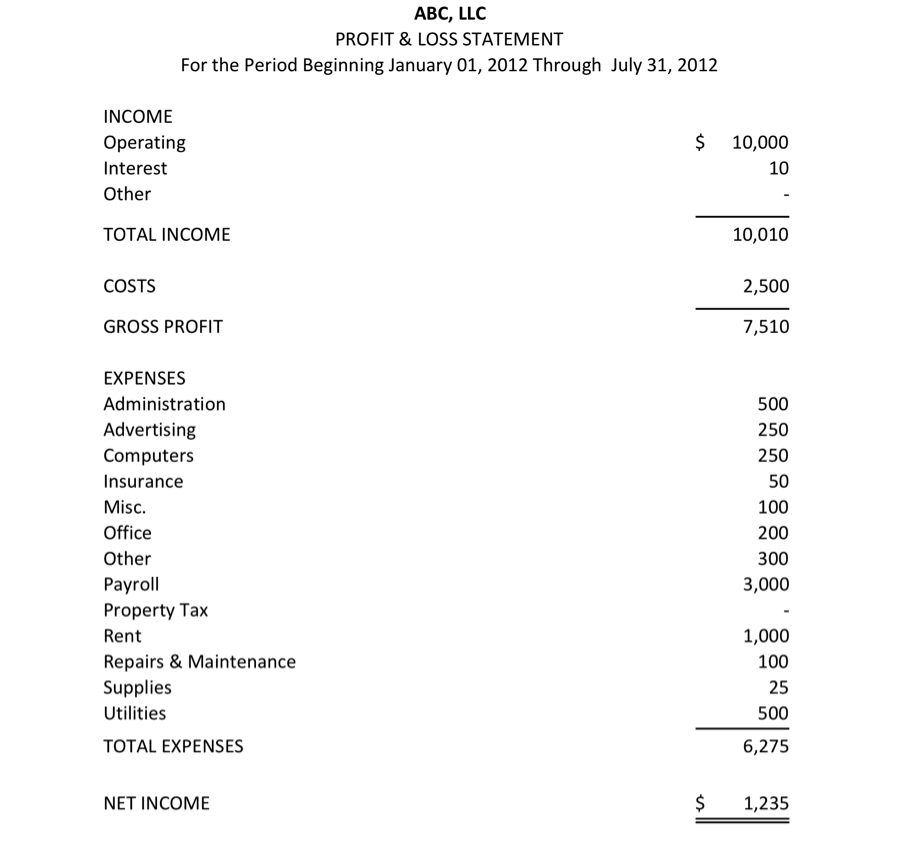
Once you have completed these inputs, your statement is complete which you can review under the “Statement” Tab as illustrated below. Note that the tab is formatted for printing and there are cross-checking formulas under column M for each of the categories. If you get an ERROR message on any of these categories then you need to recheck your entries. If you run out of room in any of the tabs, just remember to expand all of your formulas to pick up the inserted rows. This includes the total formulas as well as the SUMIF formulas used on the “Statement” tab.
Now that you’ve successfully created your financial statement, check out our e-book filled with 38 time and money-management tools and our bank reconciliation template for even more financial advice!

